
In this article, we’ll discuss how to ensure that files uploaded through a contact form on your website are successfully delivered to your email. This guide explains how to configure file sending using the popular Contact Form 7 plugin for WordPress. Before you begin, make sure that the Contact Form 7 plugin is installed and activated. If you haven’t subscribed to my blog yet, consider doing so to stay updated on future WordPress tutorials and best practices.
Creating a Contact Form
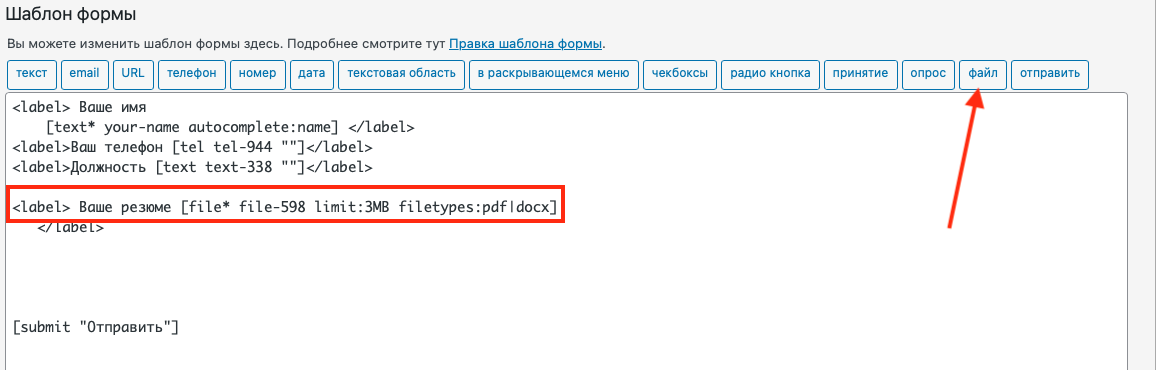
Go to your WordPress dashboard and open Contact Form 7. Create a new form or edit an existing one. We need to add a file upload field using the [file] shortcode. For example:
[file* upload-file limit:2mb filetypes:jpeg|png|pdf]Here:
-
file*— defines a required file upload field. -
limit:2mb— sets a maximum file size limit of 2 MB. -
filetypes:jpeg|png|pdf— specifies allowed file formats.
Alternatively, you can use the “File” button in the form editor to insert a file upload field and fill in all necessary parameters.

Configuring File Delivery
Next, we’ll configure file delivery to your email inbox. Go to the «Mail» tab in your form settings. Locate the «Files» field and add the shortcode that corresponds to your file upload input to ensure that uploaded files are attached to outgoing emails.

Testing the Form
Save the changes and test the form on your website. Fill in all required fields, upload a file, and submit the form. Verify that the received email includes the file attachment. If the file wasn’t attached, check the file’s size and format — they might not meet the defined limits.
Tips and Recommendations
- File Size Limit: Ensure that uploaded files do not exceed the maximum size defined in your form configuration. Adjust this limit as necessary in the shortcode.
- Allowed File Types: Restrict uploads to specific file formats you are willing to accept. This helps prevent unwanted file types and enhances overall security.